Flutter
Quickstart
This quickstart shows how to add CashOver's Pay SDK to your Flutter application.
Later in this guide, you'll also see how to speed up your UI development using CashOver's pre-built widgets — tailored for a smooth and secure payment experience.
You can also check out our example app on GitHub.
Before Getting Started
Make sure you:
- Have a CashOver merchant account
- Have created at least one store inside your merchant dashboard
- Know your merchantUsername and storeUsername
Step 1: Install the CashOver Pay SDK
Install the package via pub.dev:
flutter pub add cashover_pay_flutter
Step 2: Configure a Payment
To initiate a CashOver payment, you'll need the following parameters — all available in your merchant dashboard:
| Parameter | Required | Description |
|---|---|---|
| merchantUsername | ✅ Yes | The merchant account username where the payment will be received. Example: market.example. |
| storeUsername | ✅ Yes | The specific store username processing the transaction. Example: store.example. |
| amount | ✅ Yes | The transaction amount to be charged. Example: 49.99. |
| currency | ✅ Yes | The currency code for the transaction (e.g., USD, LBP). Always follow the correct precision |
| webhookIds | ❌ No | Optional list of webhook IDs to notify upon payment status changes. Example: ['id1', 'id2']. |
| metadata | ❌ No | Optional additional information about the transaction in json format. |
| language | ❌ No | The language code for localization (e.g., en). |
| mainAxisSize | ❌ No | Optional UI parameter defining layout size. Example: MainAxisSize.max. |
| mainAxisAlignment | ❌ No | Optional UI parameter defining content alignment. Example: MainAxisAlignment.center. |
| borderRadius | ❌ No | Optional UI parameter defining the border radius of the button, we advise to keep in the default format. Example: 8. |
| theme | ❌ No | Optional UI parameter defining theme of the button. Example: ThemeMode.light. |
⚠️ Make sure the values are accurate. Incorrect usernames or IDs may cause payment failures.
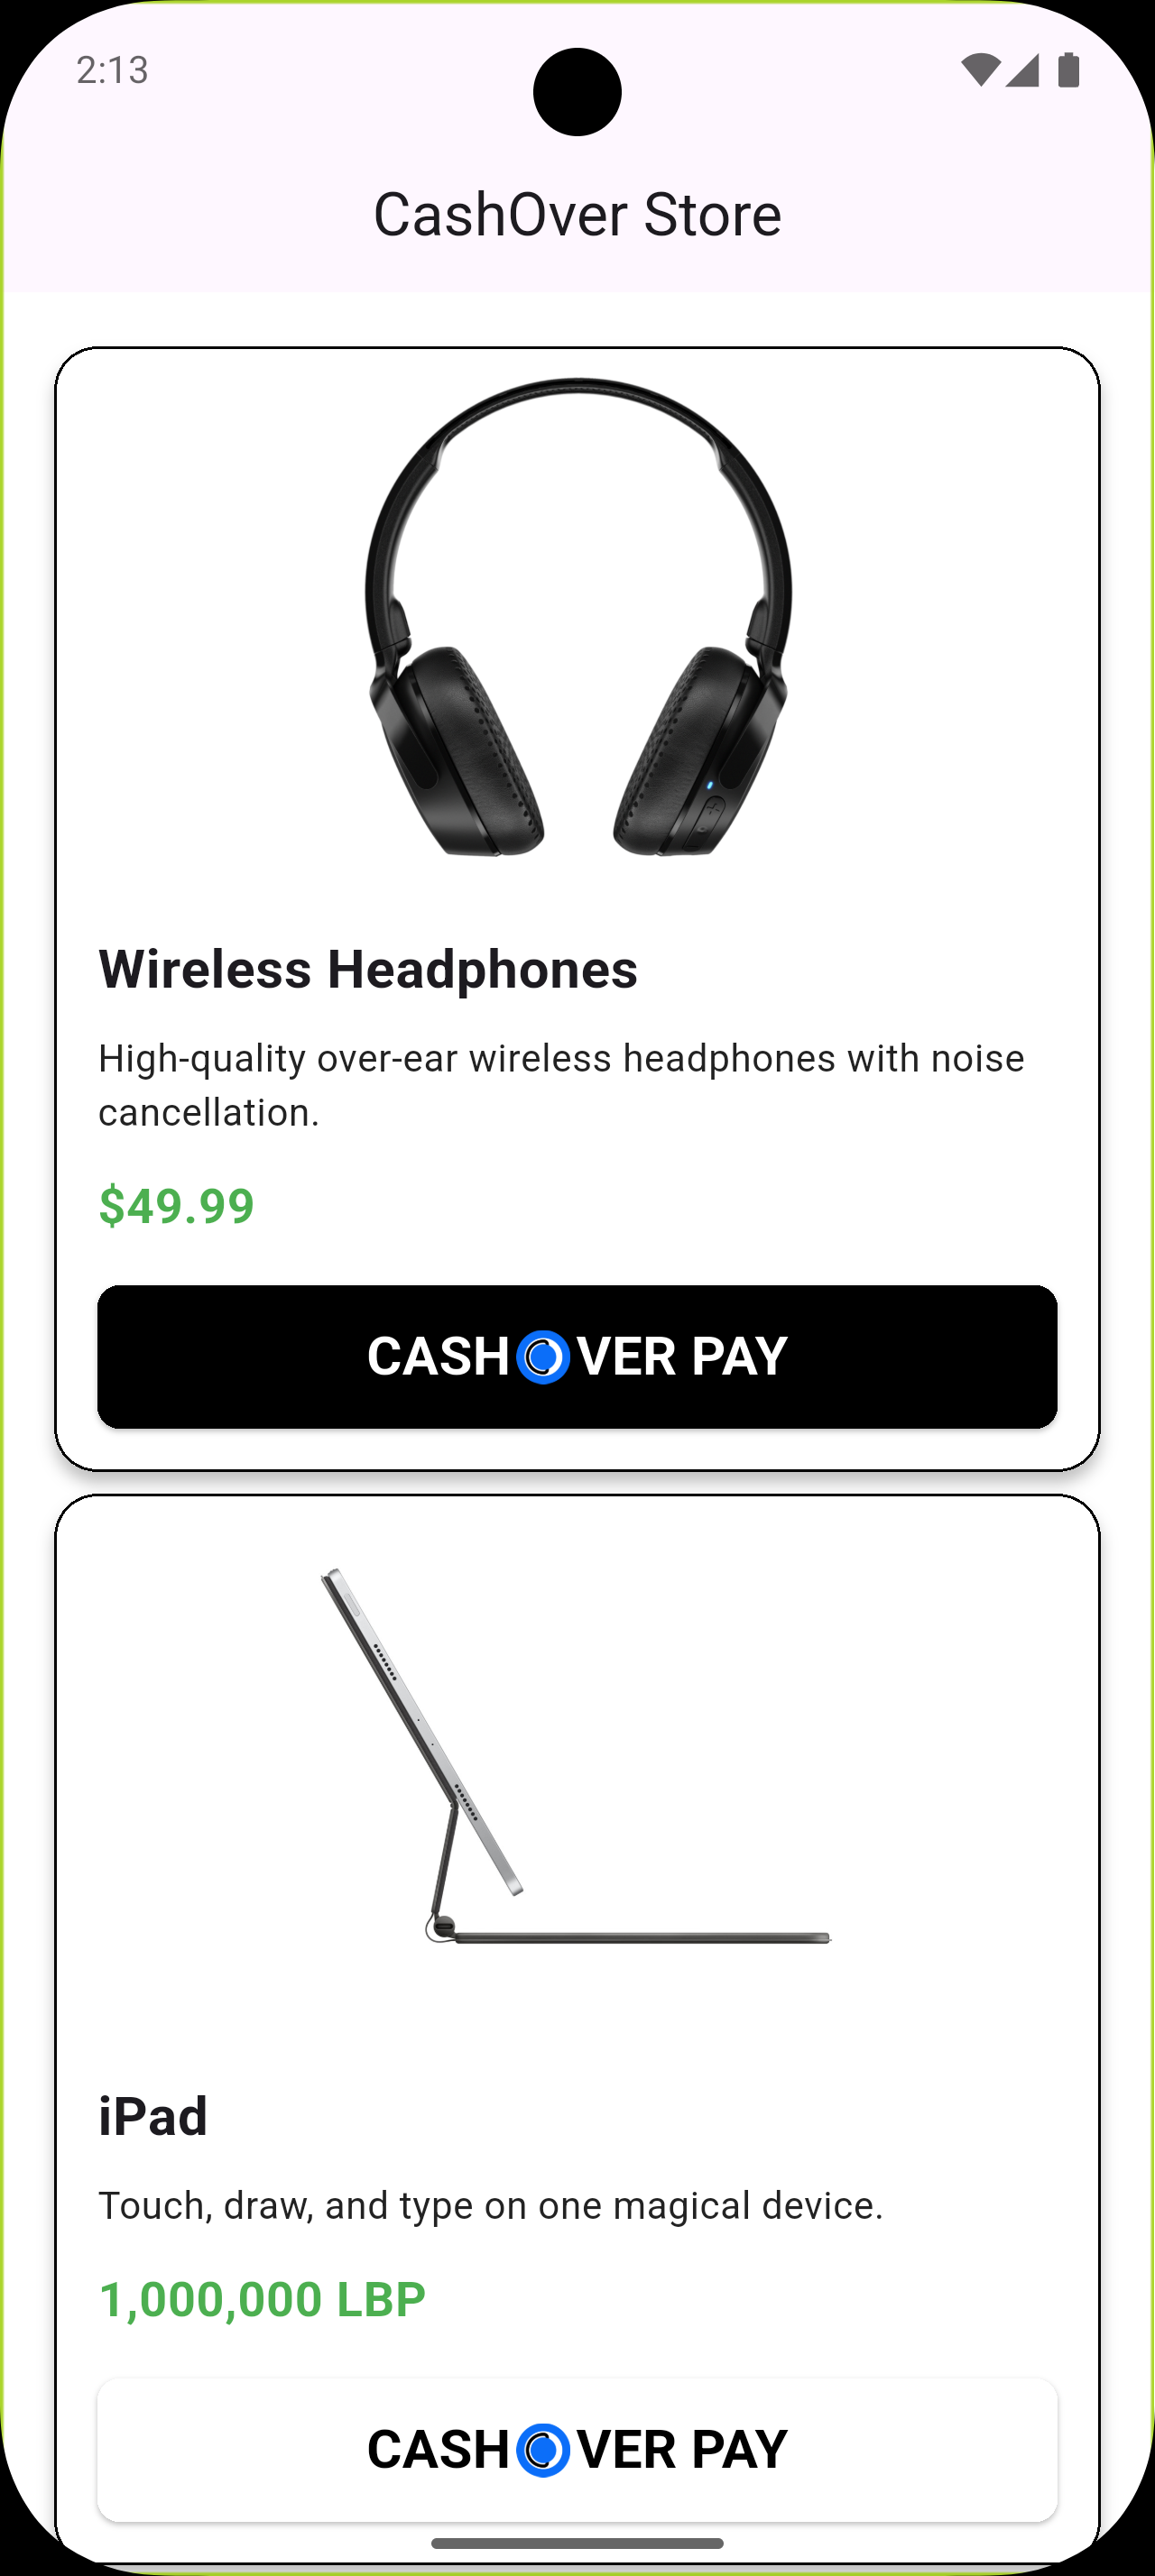
Step 3: Use the Prebuilt Payment Button
CashOver provides a prebuilt payment button that handles the entire flow:
import 'package:cashover_pay_flutter/cashover_pay_flutter.dart';
class Checkout extends StatelessWidget {
const Checkout({super.key});
Widget build(BuildContext context) {
return CashOverPayButton(
merchantUsername: 'market.example',
storeUsername: 'store.example',
amount: 49.99,
currency: 'USD',
webhookIds: ['id1', 'id2'],
metadata: {
"orderId": "A1001",
"email": "testEmail@mail.com",
"country": "LB",
"postalCode": "1300",
},
language: 'en',
mainAxisSize: MainAxisSize.max,
mainAxisAlignment: MainAxisAlignment.center,
borderRadius: 8,
theme: ThemeMode.light,
);
}
}
- metadata: Useful to tag the payment with contextual data like an orderId or sessionId
Step 4: Handle the Payment Result
Launching the CashOver App
After the user clicks the pay button, the CashOver Personal app will launch automatically and the user will complete the payment.
Verifying Payment Status
To determine if a payment was successful, implement webhooks in your backend.
Typical workflow:
- Attach metadata (e.g.,
orderId) when the user initiates a payment. - Your webhook endpoint receives payment status updates from CashOver.
- Update your order status in your system based on the webhook payload.
- Reflect the updated status in your UI (for example, displaying "Payment Confirmed").
Using webhooks is the most reliable way to synchronize payment data and follows best practices in the payment industry.
You're Ready to Go!
CashOver Pay SDK gives you both power and simplicity — ideal for secure, fast, and reliable payments on mobile.